ONESOURCE
Workpapers Help
Download the Add-in
To download and install the Add-In:
- In the Workpapers application on the Platform, select Add-in in the main menu.

- Select DOWNLOAD.
- Go to the directory containing the downloaded file, and execute ONESOURCE Add-in Suite.exe.
- Select Next.
If your computer does not have the Microsoft .NET Framework (or has an outdated version), you receive the Welcome to the Prerequisites Setup Wizard pop-up. The installer asks you if you want the Microsoft .NET Framework installed or upgraded for you.

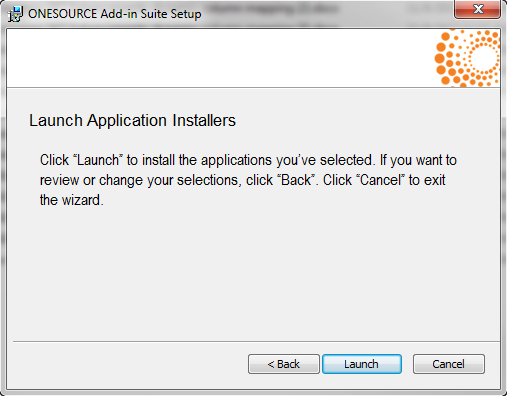
- Select ONESOURCE Workpapers Add-in for Excel, and then select Next.

- Select Launch to install the Add-In.
A security warning may appear, depending on your workstation's settings. If this message appears, select Run.
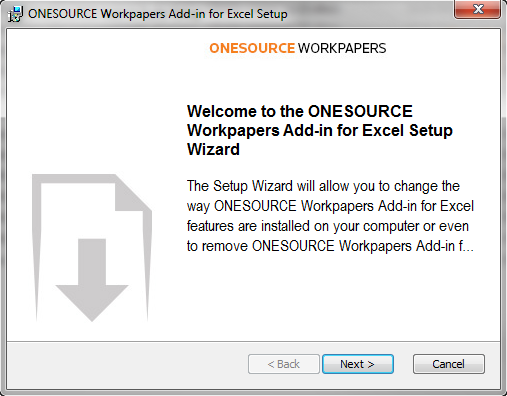
- Select Next.
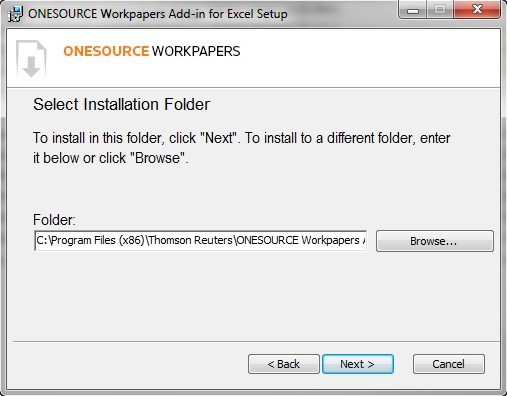
- Accept the default installation folder for the Add-in files or choose another folder, and then select Next.
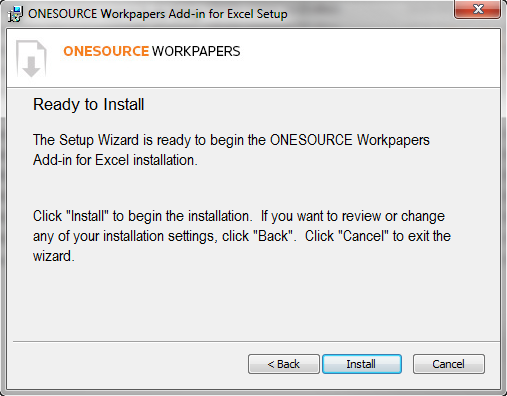
- Select Install.
- Select Finish.

-
Select Finish again when the setup is complete.

The next time you open Excel, the Workpapers tab appears on the ribbon menu.