ONESOURCE
Workpapers Help
Registration Info/Single Sign-On Info
To access data in applications on the ONESOURCE Platform, you need to provide authentication credentials. The Add-in offers two authentication methods: registration and single sign-on (SSO). With registration, you enter ONESOURCE credentials. With single sign-on, you enter the SSO credentials that you use at your company.
For questions about whether your company uses single sign-on, contact your ONESOURCE system administrator.
Registration
To register with the Platform:
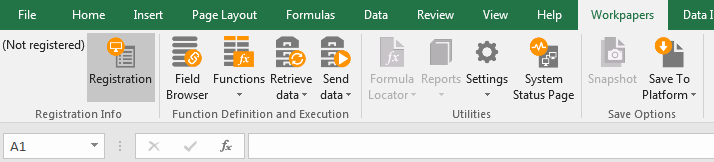
- On the Workpapers tab, select Registration.
- Enter your ONESOURCE Username and Password.
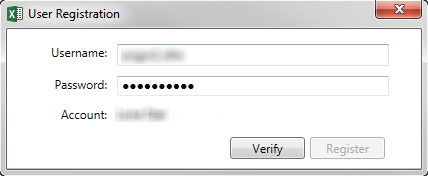
- Select Verify, and wait while the system checks your credentials.
- Select OK on the authentication pop-up.
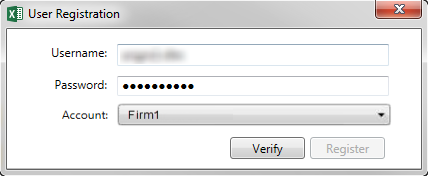
- Select a value for Account if the drop-down is enabled.
- If you are a ONESOURCE Firm Edition user, select a Client.
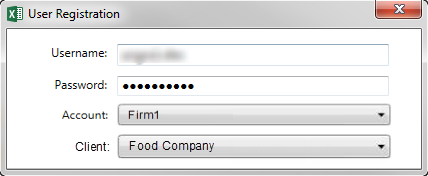 .
. - Select Register to complete the registration.
Single Sign-On
Single sign-on (SSO) accepts the credentials you use at your company to authenticate with the ONESOURCE Platform. The Add-in authenticates with the Platform during the following operations:
- Selecting the Sign On button in the ribbon.
- Downloading a workpaper from the Platform.
- Saving a workpaper to the Platform.
You need to re-enter your SSO credentials each time you reopen the Add-in.
To enable single sign-on:
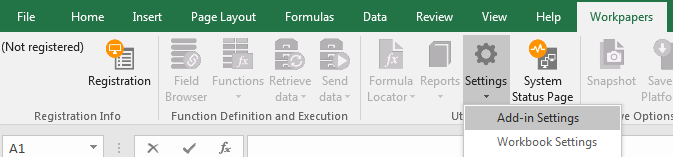
- In the Workpapers tab, select Settings > Add-in Settings.
- Select the General tab, select Use Single Sign-On, and then enter your company-specific SSO URL.
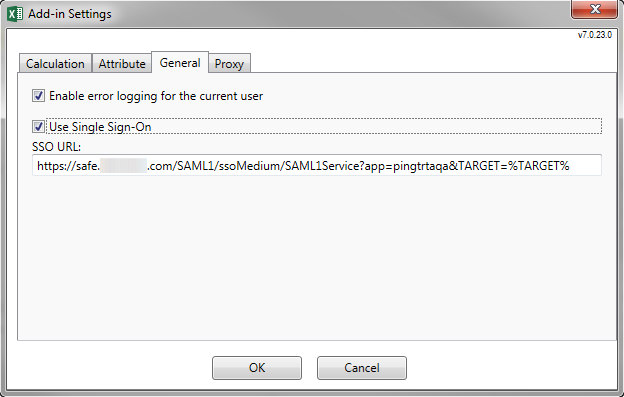
- Select OK to close the Add-in Settings pop-up.
If you have been registering with ONESOURCE credentials, you get a pop-up telling you that your existing credentials will be removed. Select Yes.

- Select Sign On in the ribbon menu.

- Enter the credentials into your company-specific SSO page.
Contact your ONESOURCE system administrator if you do not know your SSO credentials.
- When your authentication is successful, select OK.
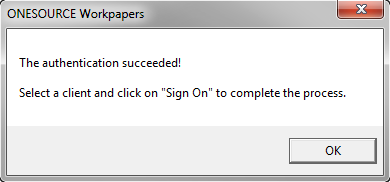
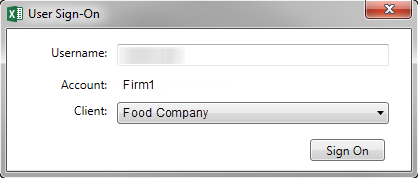
If you are a Firm Edition/Client Manager user, you receive an additional pop-up to select a client. After you select the client, select Sign On.
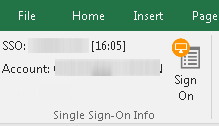
The time of day when you signed in using SSO is displayed in square brackets following your SSO user name.